I’ve been experimenting with my hummus recipes for as long as I can remember. I have spent a substential amount of hours in the kitchen and a good few hours of reading blog posts to find that perfect recipe since quite some time! I have grown up from extra thick and chunky hummus to really nice and smooth, creamy light textured hummus in last few years. The first time (and probably the best!) I tasted hummus was in a middle eastern restaurent in London, fell in love instantly and after that I have had it gazzilion times elsewhere but only a few comes close to that hummus. I have never really ever bought the store-bought version. Somehow to me most store-bought hummus lacks the big flavor and taste factor!
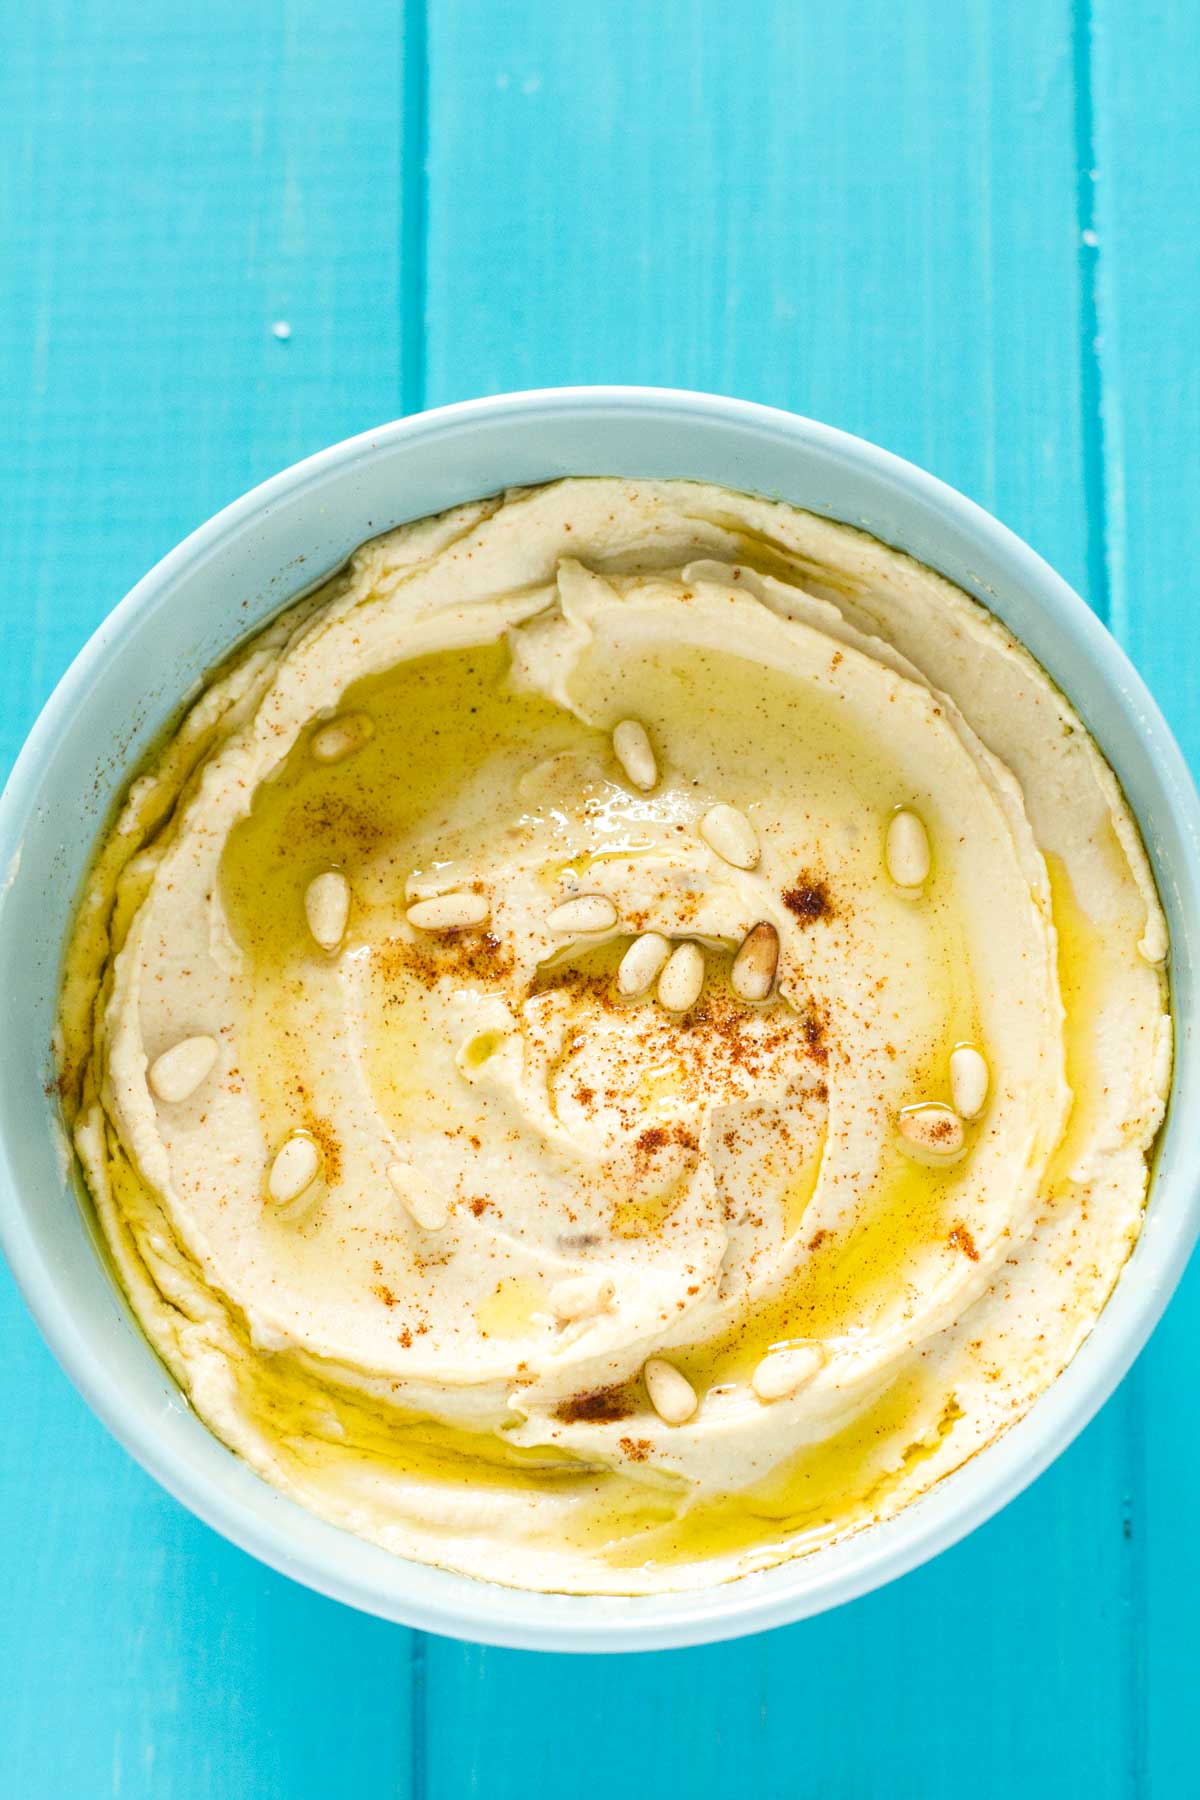
So, I am one of those people who soaks, cooks (presser cooker is my best friend!) and peels (yesss!) a hefty amount of chickpeas, in order to make my weekly supply of hummus. I find it this keeps me on track with my “healthy-snacking” habits. Once you learn to make it at home, there is no stopping! Its the real deal people! 10 times better than any packaged hummus you can buy in a store and I am pretty sure a lot healthier as well.
Carrots + roasted garlic hummus = Snacking Nirvana!
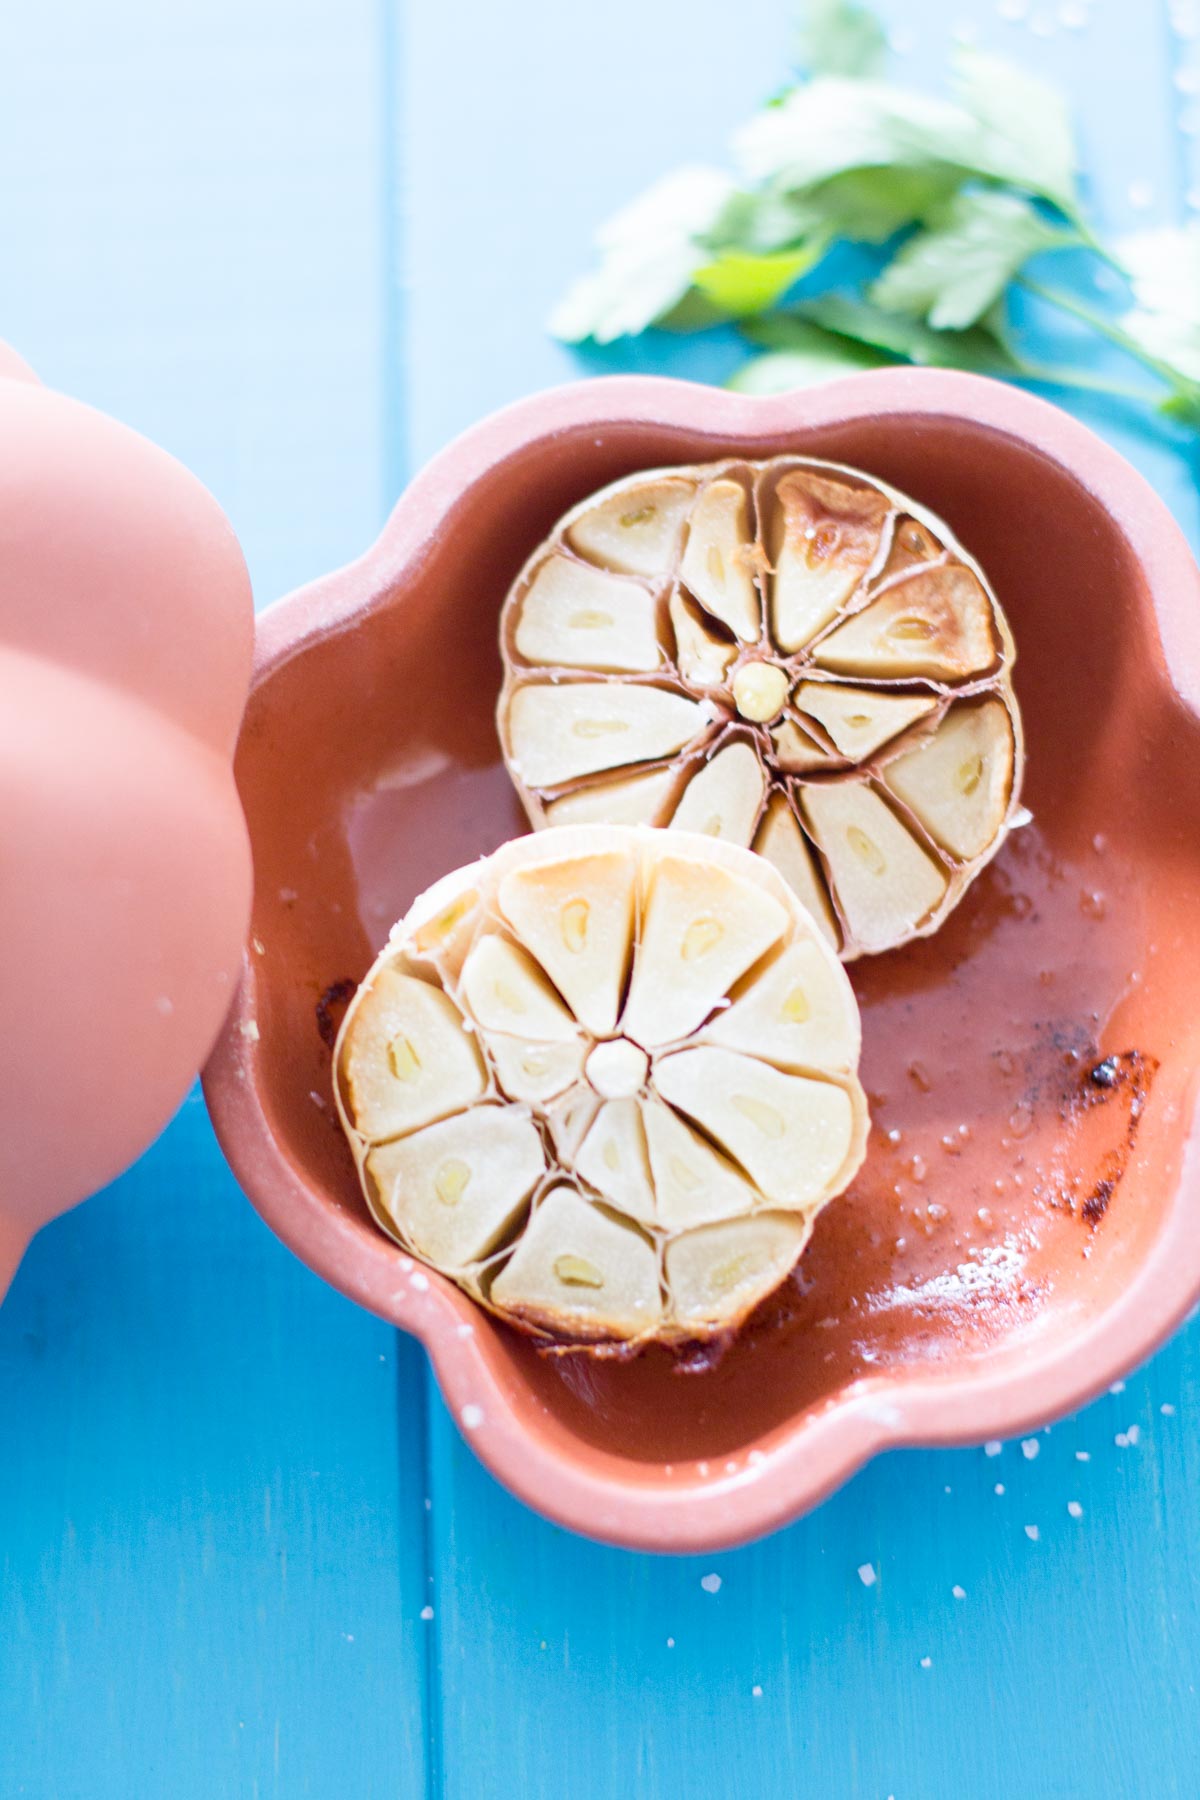
I love this roasted garlic flavored hummus compared to the plain classic hummus. The caralamalized, sweet garlicky flavor enhances the whole hummus experience. And nothing like the smell of garlic roasting in the oven, I tell ya!
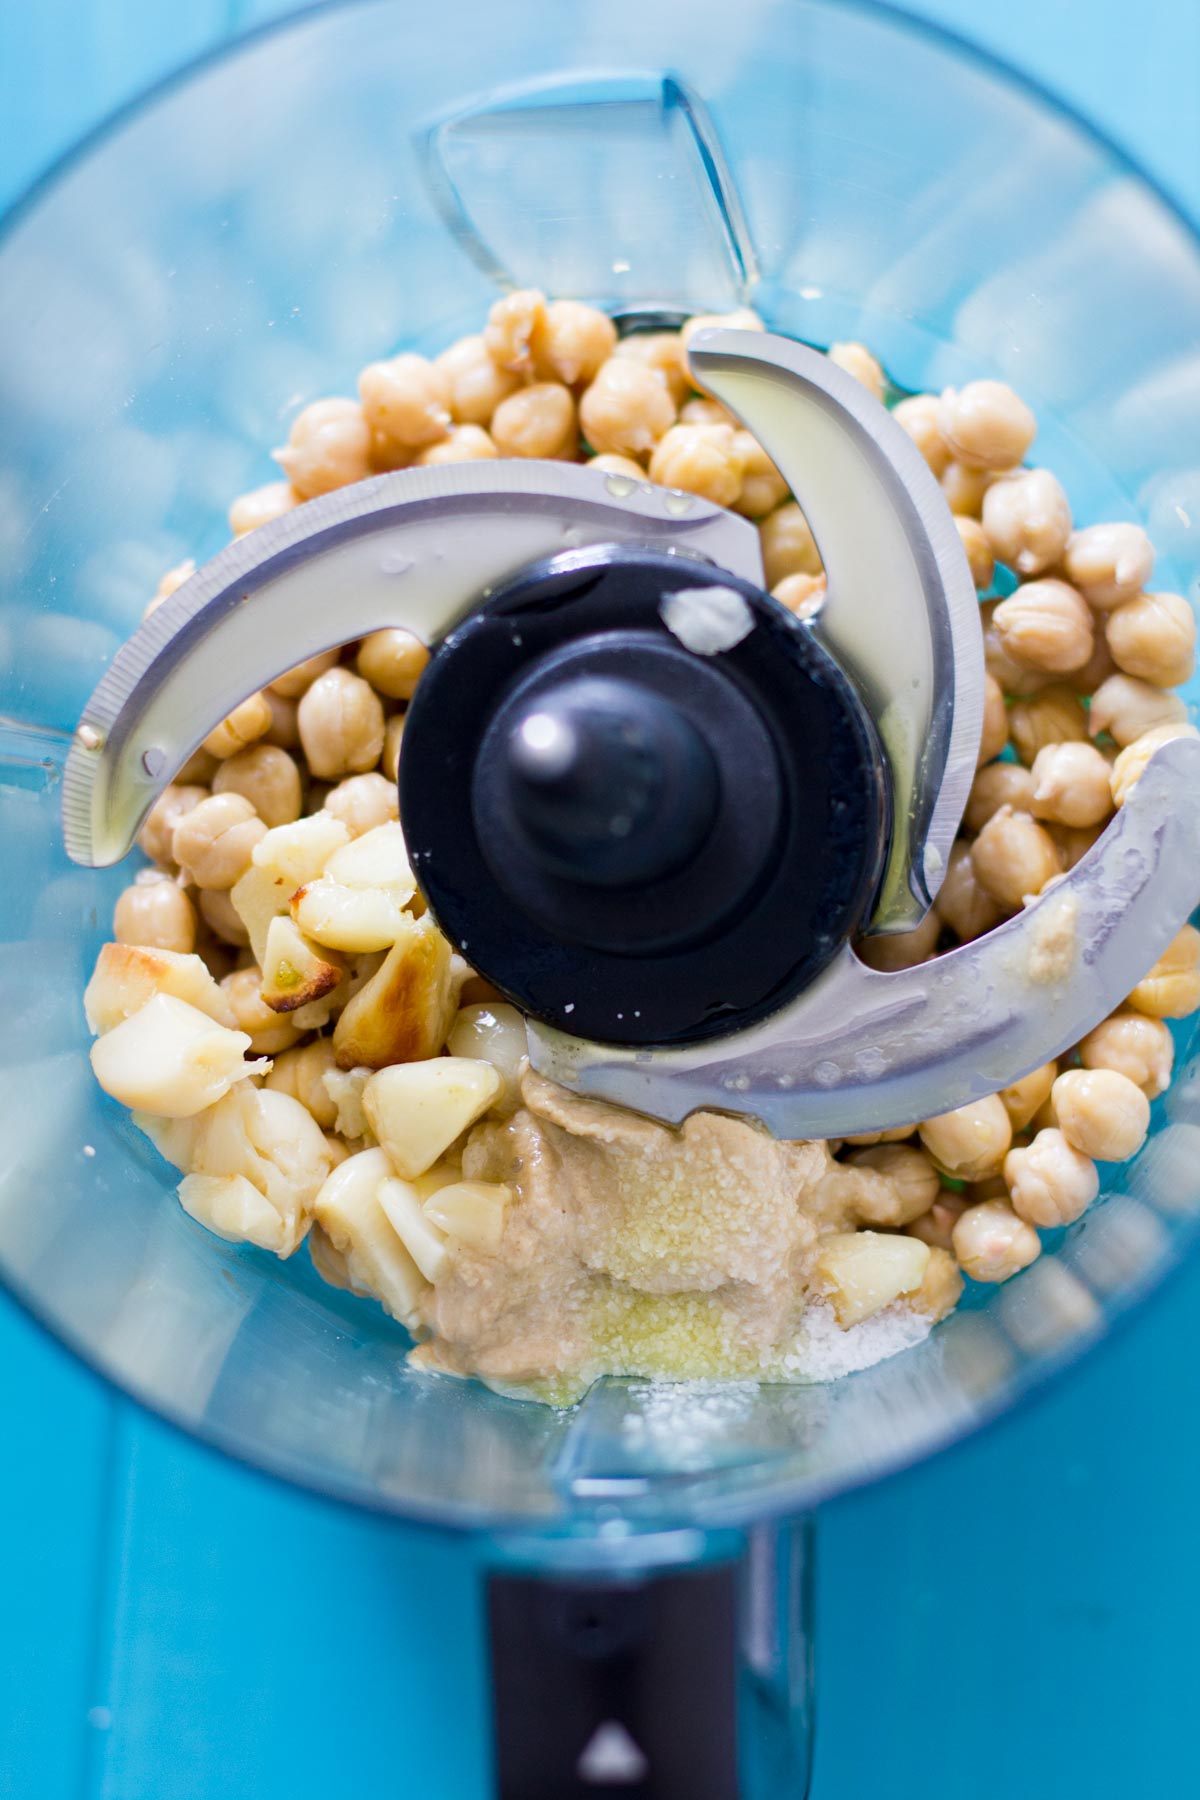
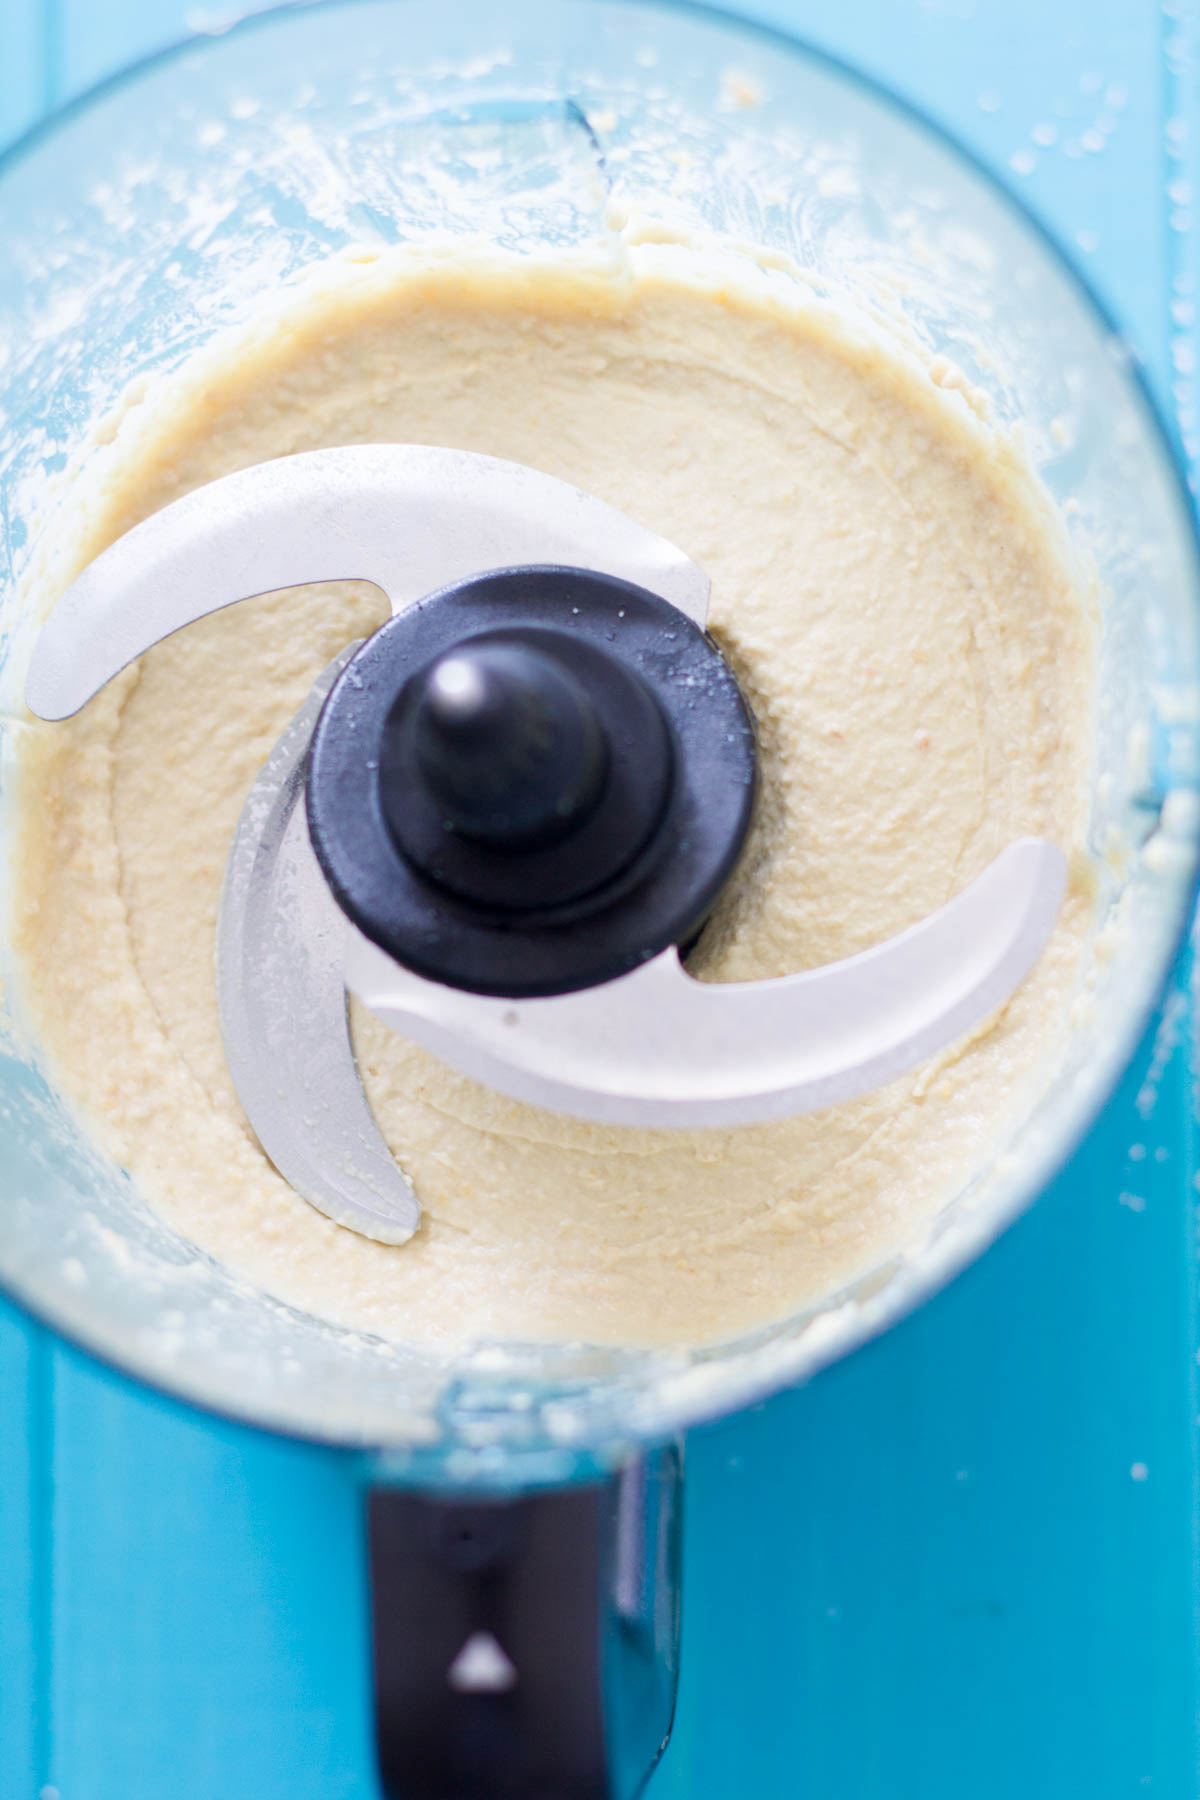
Before we jump to the recipe, I do have some POINTERS for making that “perfect” roasted garlic hummus. Making hummus takes practice and sure involves a few techniques but when followed will result in the perfect bowl of hummus and your friend and family may award you as the “hummus expert” 😀
First things first – THE CHICKPEAS!
- If possible buy dried chickpeas, organic even better. I buy dried organic chick peas to make my hummus, however I often use the cannned version as well when I need make hummus in an instant. ( or when I have forgotten to pre-soak my chickpeas OR I am just being plain ol’ lazy)
- If you are using canned chickpeas, drain them well and wash them throurly before making hummus.
- If you are using the dried chickpeas, wash them several times and soak them the night before (atleast 8-12 hours). The grains will absorb most of the water and will almost double in size/volume. After they have been soaking overnight, wash well again and transfer it to a large pot and add 1 teaspoon of baking soda and NO salt. Cook untill the chickpeas are soft. Test by pressing a chickpea between two fingers. In a pot this will take around 1-1.5 hours. But if you have a pressur cooker this will take less than 15 mins + 15 mins natual pressure release to cool down. The exact cooking time will depend on the type of chickpeas and what kind of pressure cooker you have.
- Make sure to take off the foam that appears over the boiling water during/after the cooking.
- If you are cooking your own chickpeas-reserve about a cup (or more) of the cooking liquid (the broth) to use it later to use in your hummus, that makes it extra flavorful.
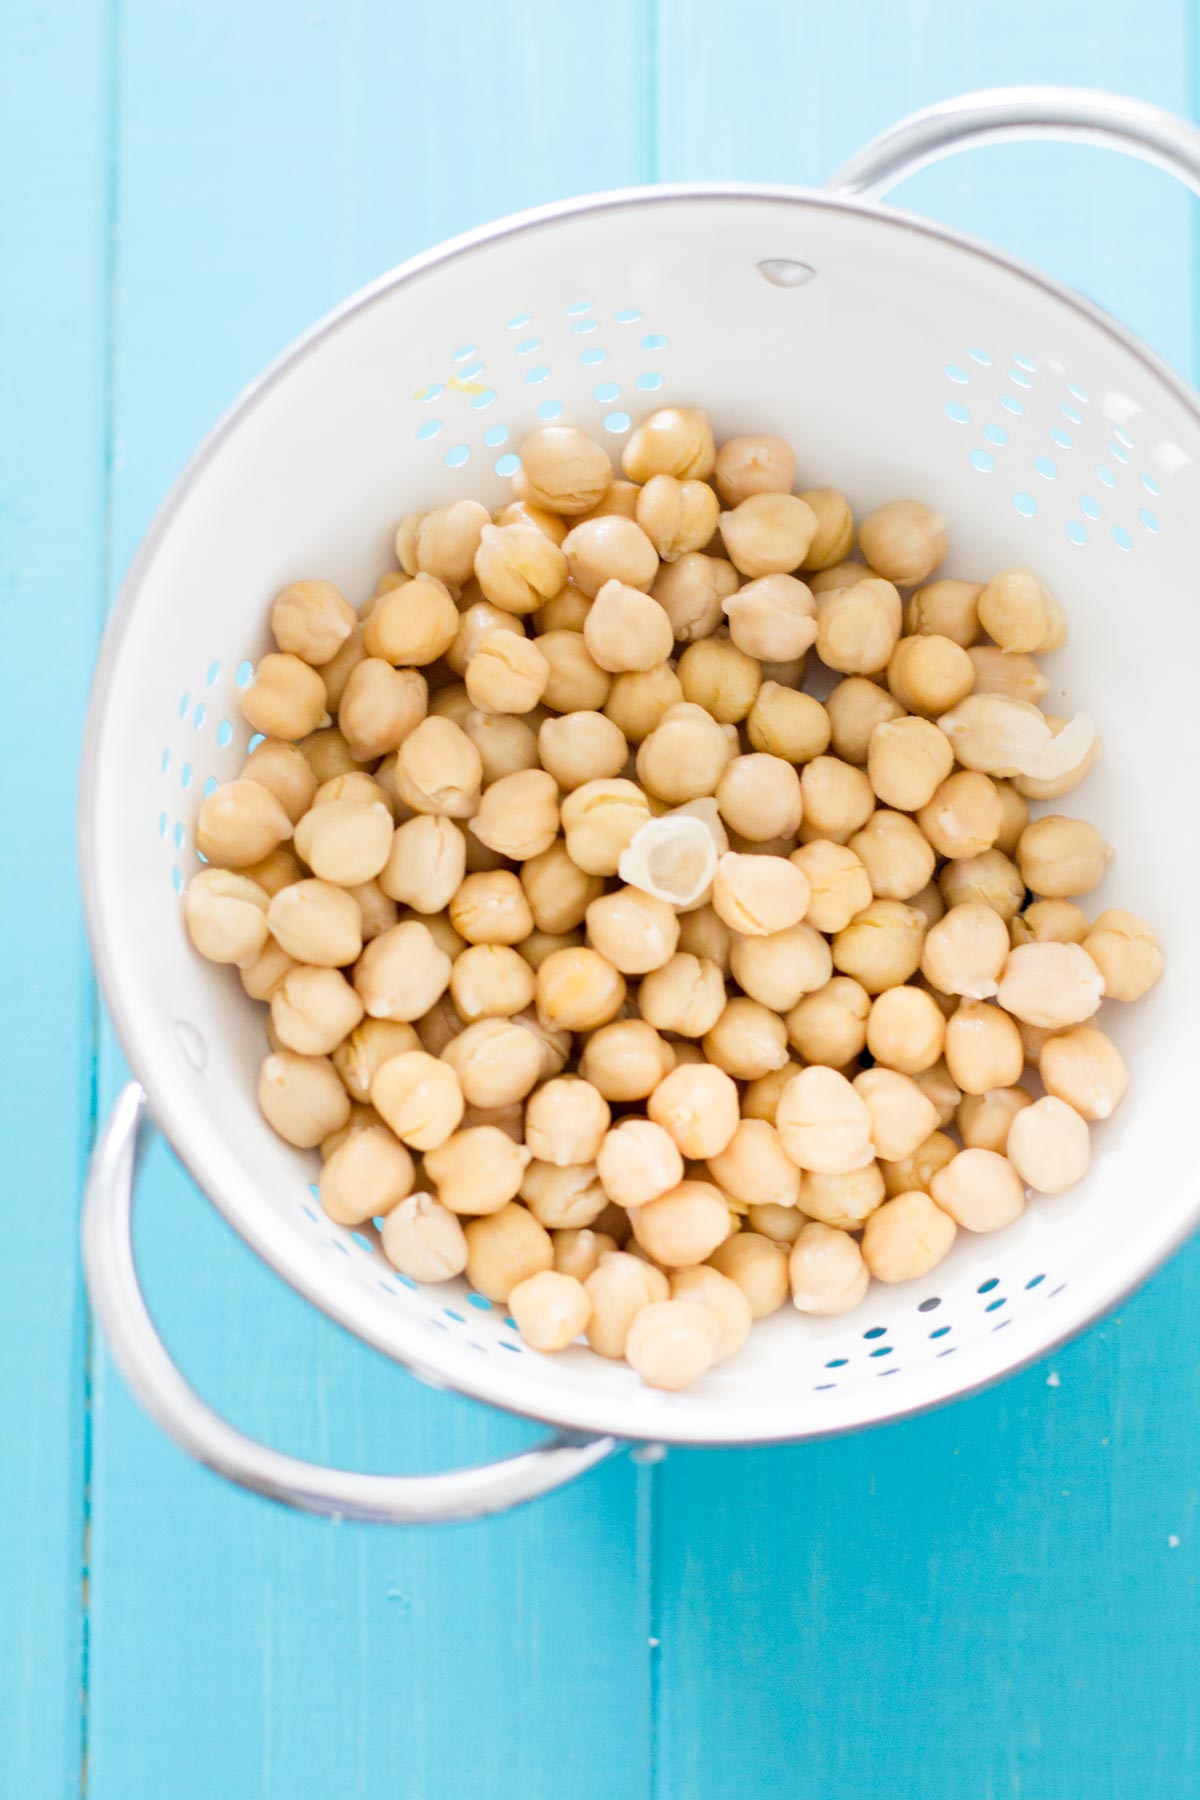
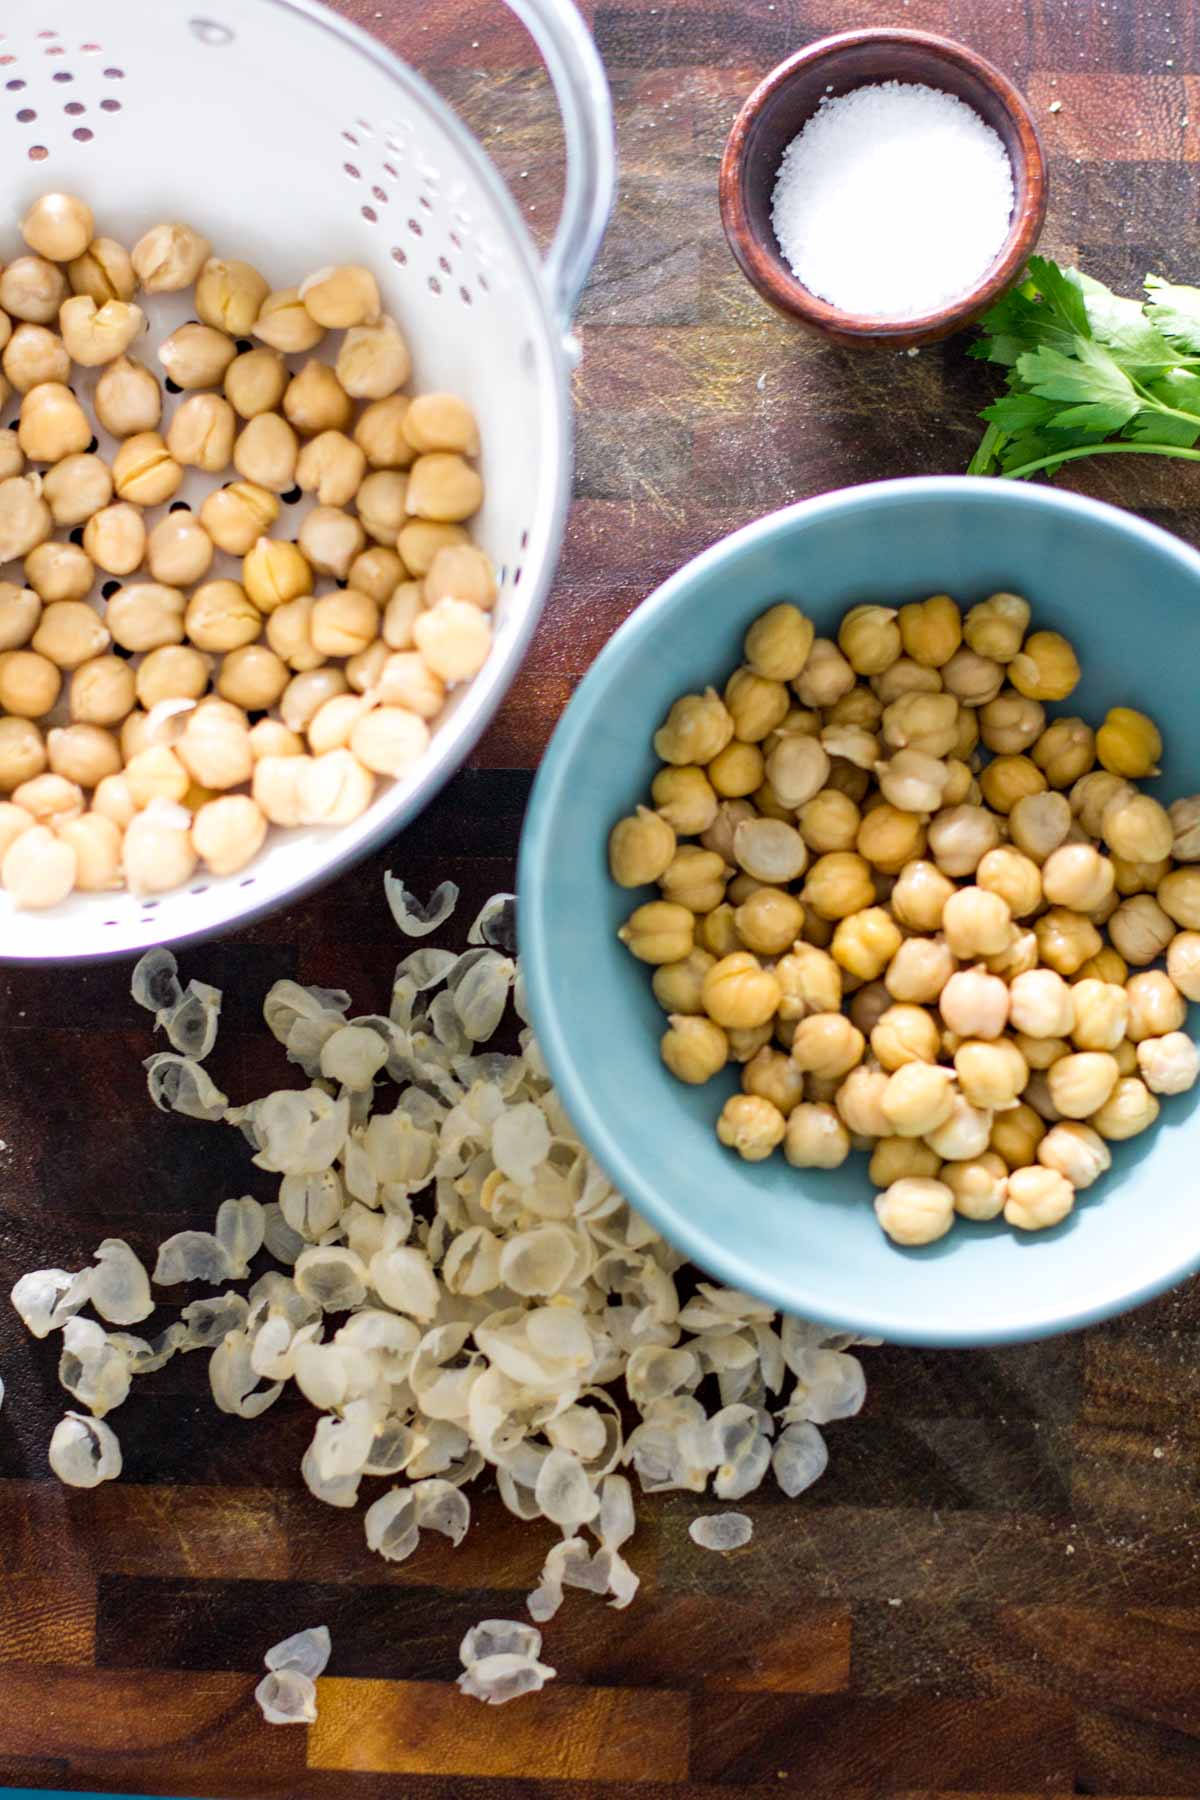
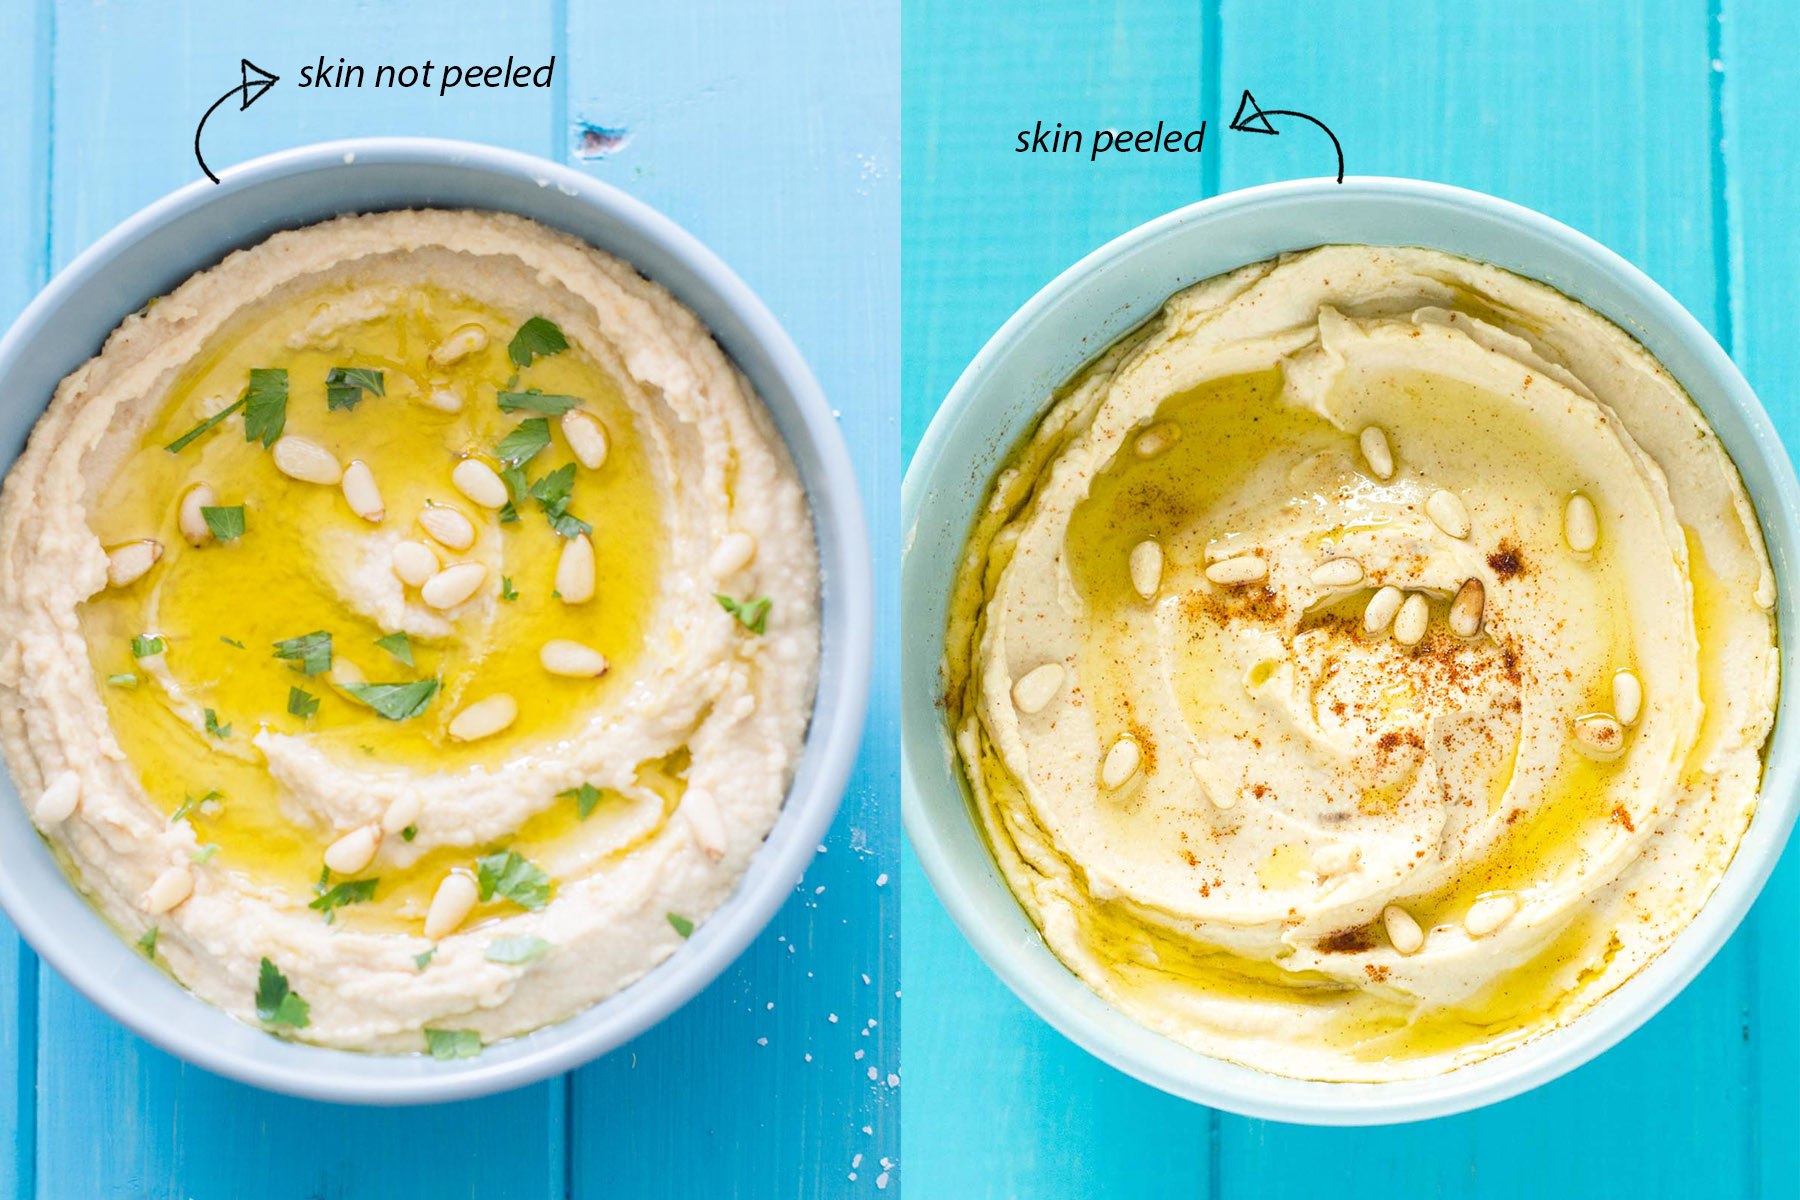
- Last thing I would mention is much more debetable – is – PEEL the chickpeas! you must be thinking “say what? peel each freakin’ c-h-i-c-k-p-e-a???” and I say YES! I have done it multiple times while Prashant looks at me questionably! Its a tedious job but well worth it. It does result in a creamier texture but leaving the skin on also results in equally flavorful hummus.
Note – I have posted pictures of the hummus made with and without peeling the skin – for you to see the texture difference, I prefer the smooth version but when short in time I equally enjoy the chunky/textured one as well.
Second – TAHINI
- Use the “best”, the real-deal here. I buy mine from the local middle-eastern speciality store.
- Tahini is just sessame seed paste so oils will naturally seperate, just stir the bottle well before using.
Third – Lemon
- Use Lemon juice only, not lime. I even put zest of the lemon at times, that seem to enhance the lemon flavor even more.
- 1½ cup chickpeas, drained and rinsed ( 1 15 oz. can)
- 2 tablespoons tahini
- 2-3 tablespoons lemon juice ( one medium sized lemon)
- 4 tablespoons extra virgin olive oil
- 1 teaspoon sea salt or kosher salt
- 1 head of garlic, roasted
- Extra olive oil, to roast/bake the garlic
- flat leaf parsley, for garnish (optional)
- pine nuts, toasted, for garnish (optional)
- paprika for sprinkling (optional)
- Preheat the oven to 400 degrees. Peel off any papery edges of the garlic leaving all the cloves in tact. Cut the head of the garlic in half to expose the cloves.
- Drizzle with some olive oil over the exposed surface of the garlic, letting the oil sink down into the cloves. Wrap in foil and bake for about 40-45 minutes until the center is completely soft. Squeeze cloves out, set aside.
- Meanwhile peel the chickpeas if desired and set aside.
- Most important step - In a food processor, blend together tahini, olive oil, lemon juice and roasted garlic untill its creamy. Stop in between, scrape down the sides and blend again until everything is smooth and creamy.
- Add chickpeas and salt, and pulse for few minutes. Again stop to scrape down the sides and blend again by adding 1 tablespoon of water at a time with the machine still running.
- Repeat until desired consistency - smooth, light and creamy!
- Taste and adjust seasonings - more salt, lemon juice or tahini if needed.
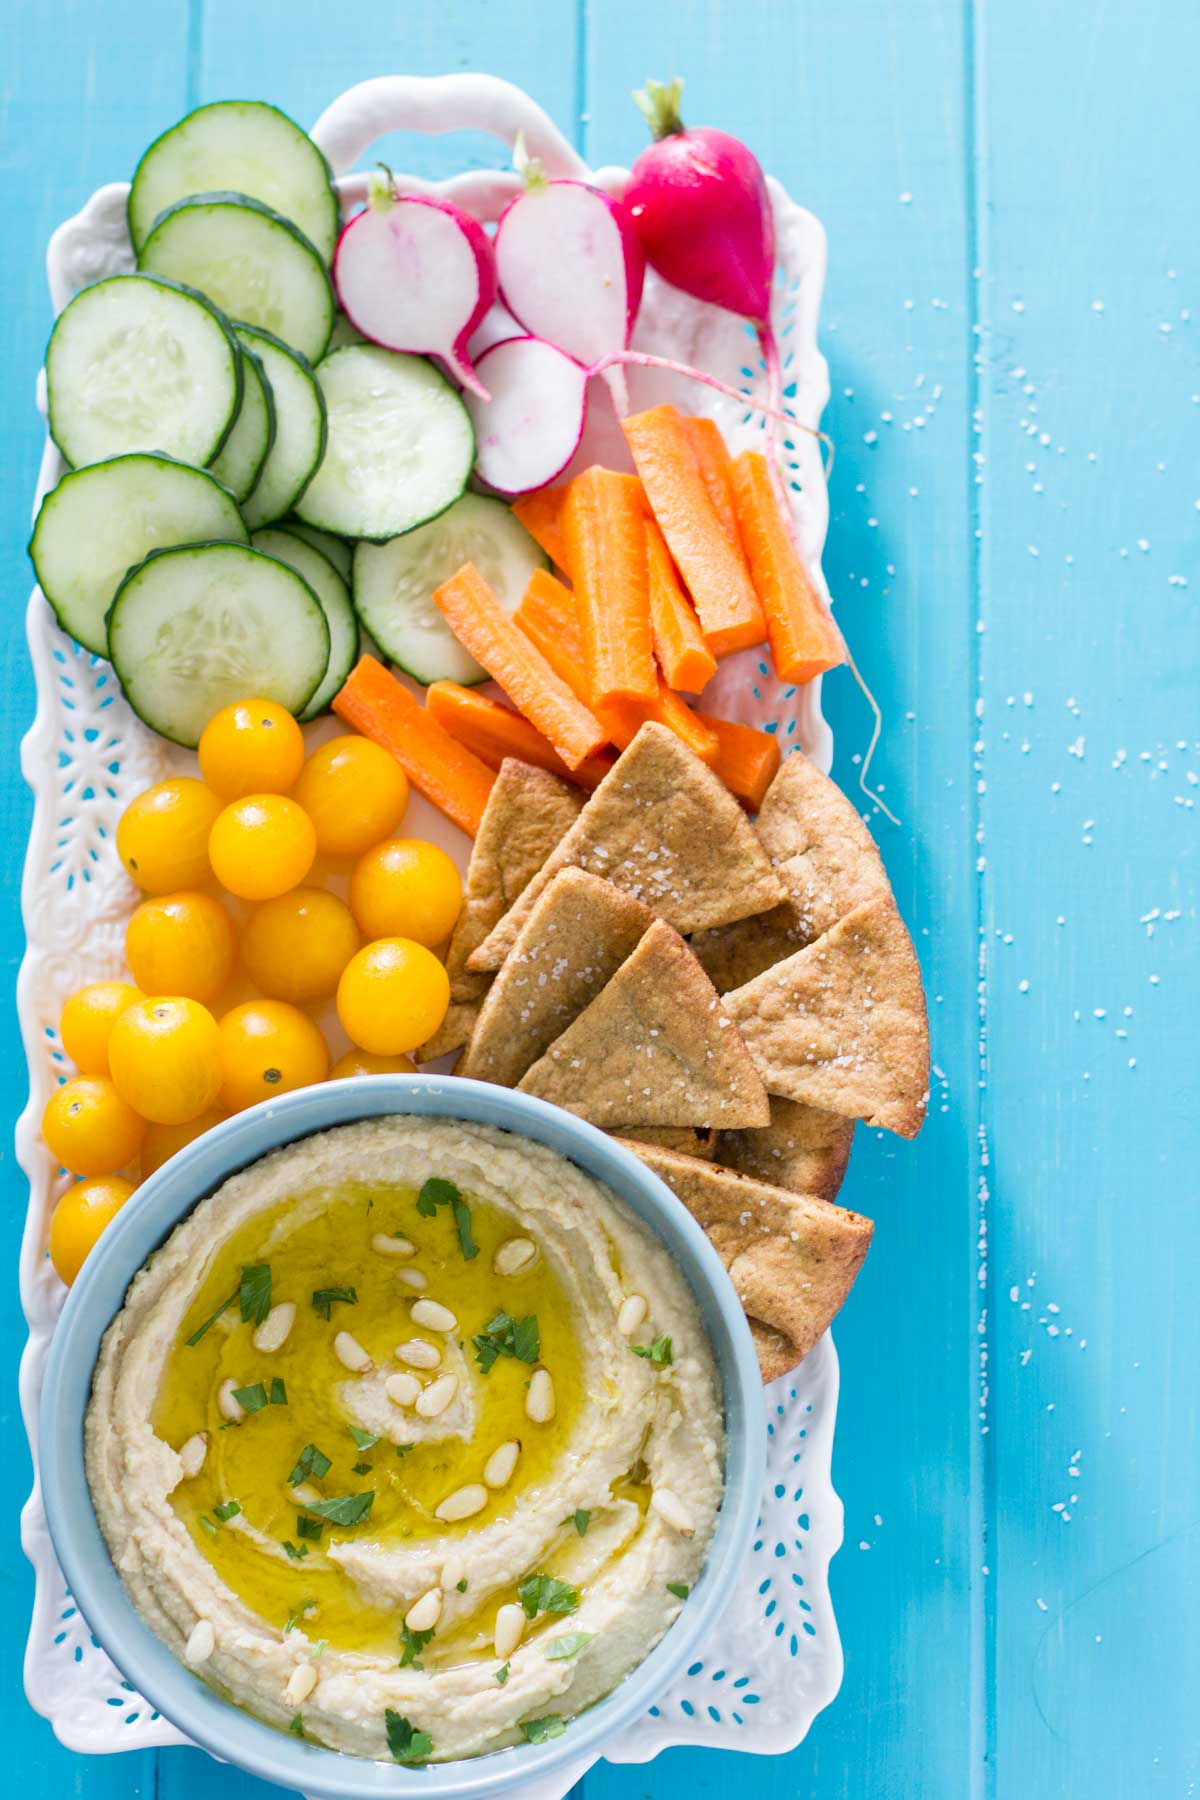
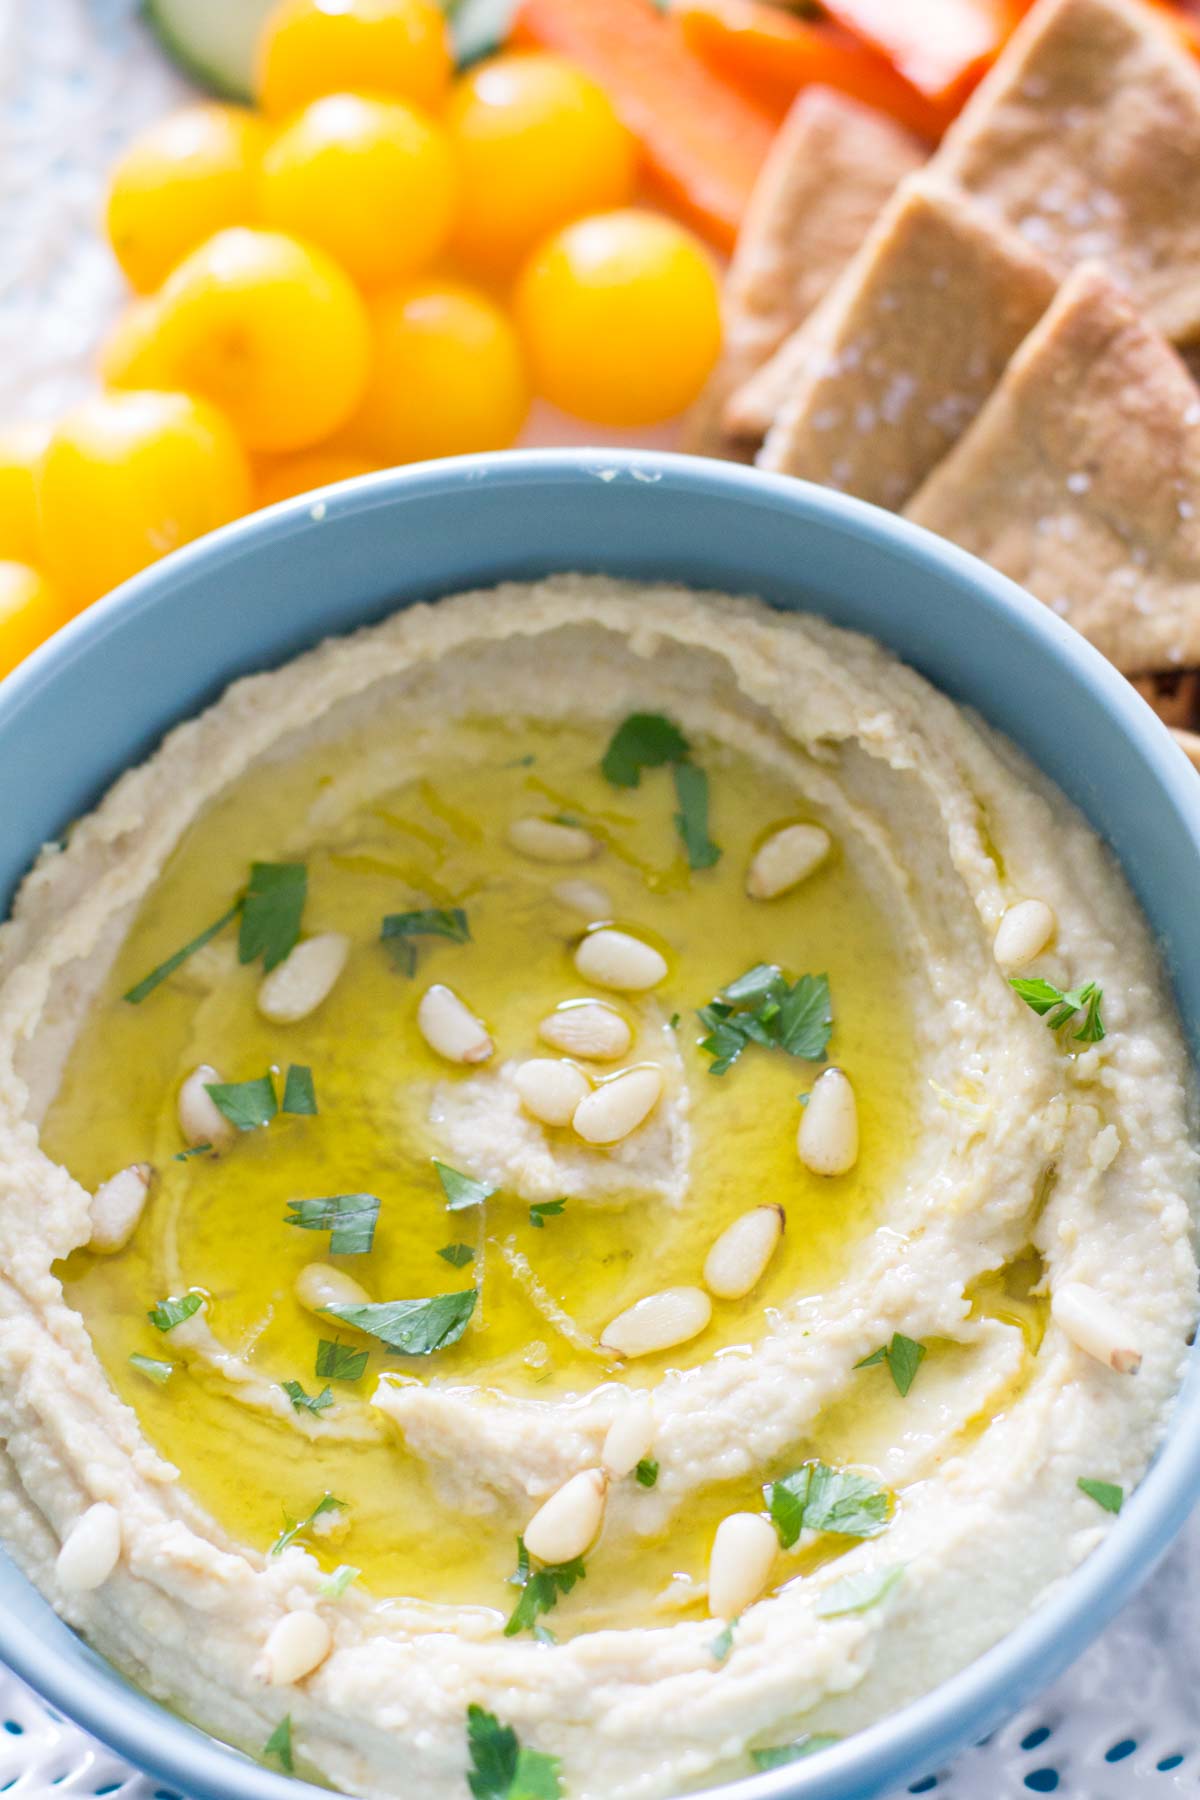
- To serve, transfer it to a bowl, drizzle in with a little extra virgin oilve oil and sprinkle it with some finely chopped parsley, zest of the lemon or garnish it with some toasted pine nuts or spice it up with a dash of paprika.
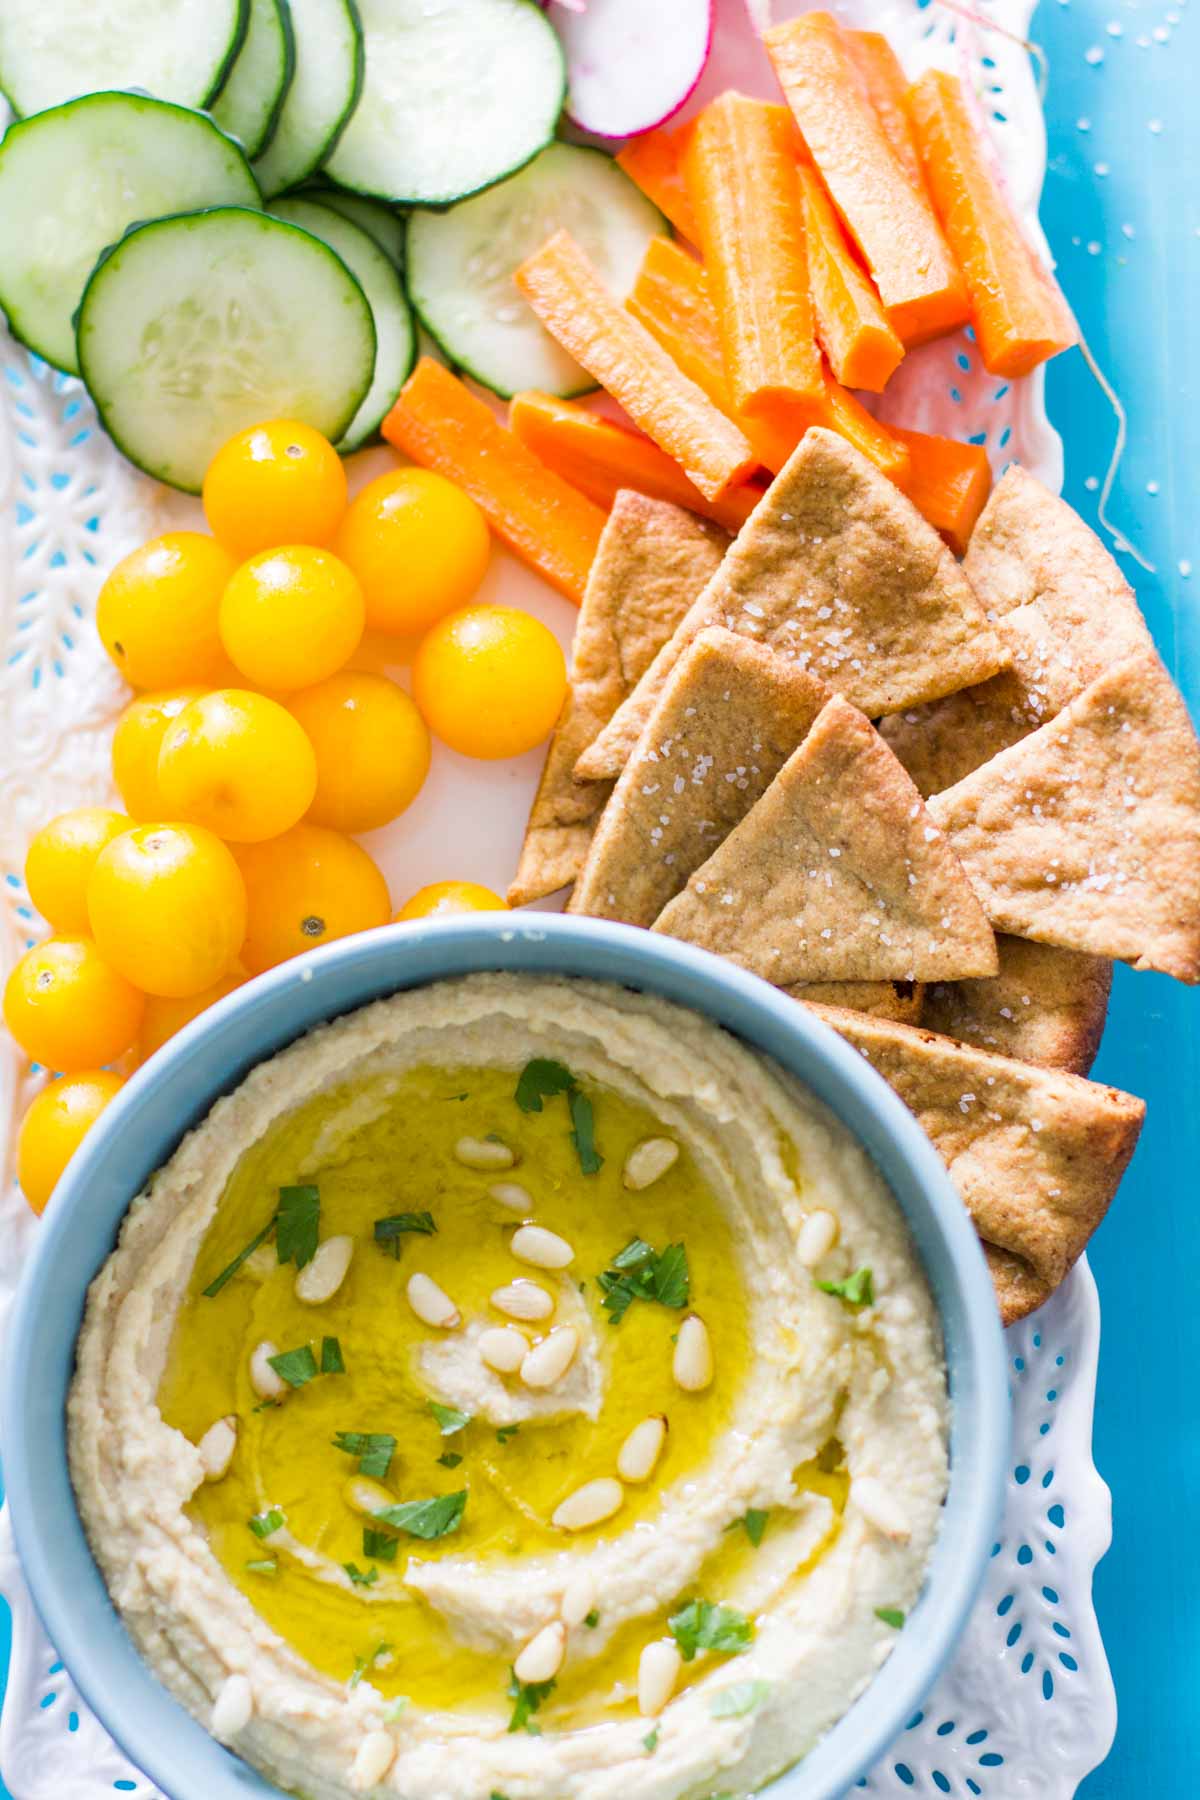
- Serve it with pita chips, pita or naan wedges and/or veggies of your choice.
Works great as a spread on sandwiches, wraps, burgers and the likes!
Leave a Reply